
Configuring Voiceover – Audacity Recording
Configuring Voiceover in Room 134A
Audacity Recording:
1) Open Audacity from the Dock, the icon will look like this:
![]()
2) The computer is already pre-configured to use the correct settings with Audacity, to begin recording audio, simply click on the record button:
![]()
3) When you are finished recording click the stop button:
![]()
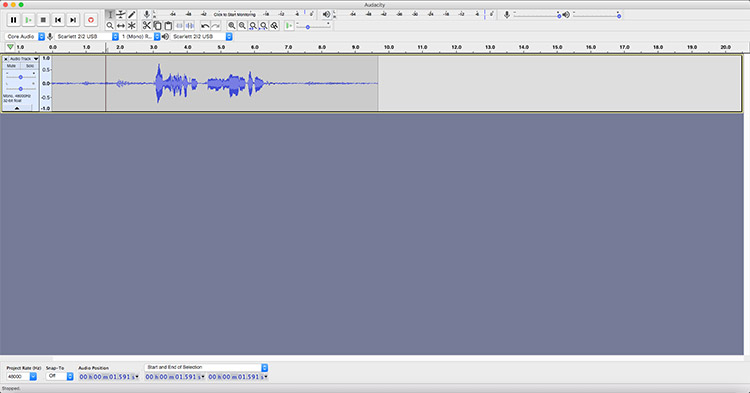
4) The interface should look like this if recording is successful, with a waveform showing what you recorded:
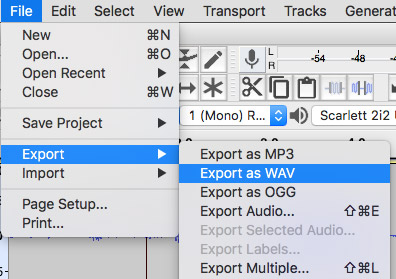
5) When you are finished recording this session, navigate to the File menu and click on “Export” and choose WAV as shown below. Make sure WAV is your chosen export format because that format works well in all versions of Final Cut Pro and Premiere.
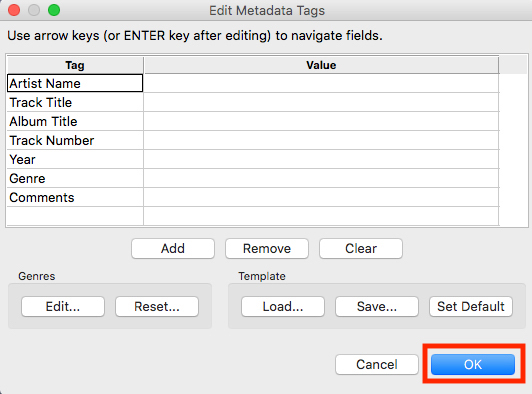
You will also be asked about adding tags, which is unnecessary. Just click OK:
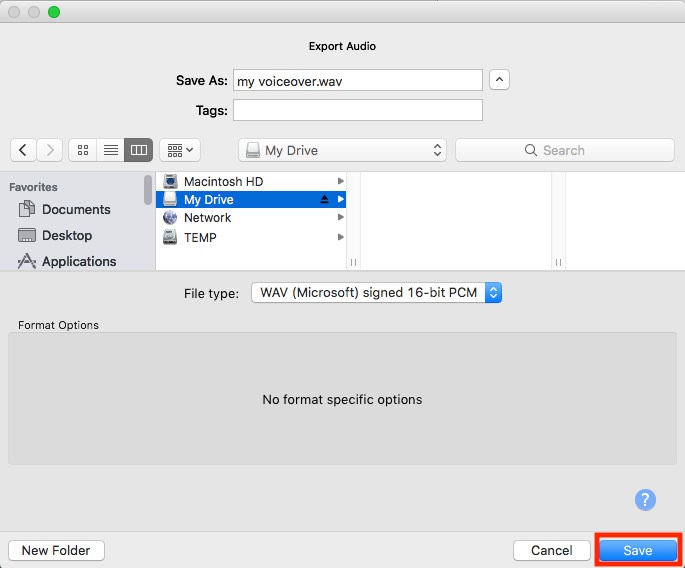
You will be asked to save the file somewhere, simply select a location such as your hard drive, flash drive. In this example we are saving the file to a flash drive:
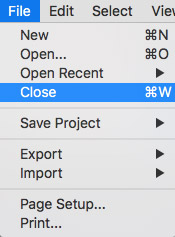
Note: After you have exported the recording, you will need to close the current window by choosing File > Close, and then choose File > New for every recording session (recording take) you need:
In Audacity you can record multiple takes into one window, but long sessions can be problematic since the process uses a lot of the computer’s RAM (memory):
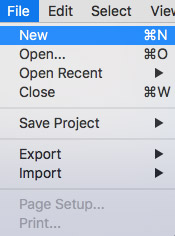
The correct workflow is to record a take, save (export) the file, close that window/session, and then navigate to File > New for every new recording desired.
As a reminder, you can import audio files into Final Cut Pro X by going to the File menu and choosing File > Import > Media, or into Adobe Premiere by choosing File > Import.