Understanding Memory Card Architecture & Offloading Footage of the Sony Alpha a7II / a7s
Choosing a shooting format:
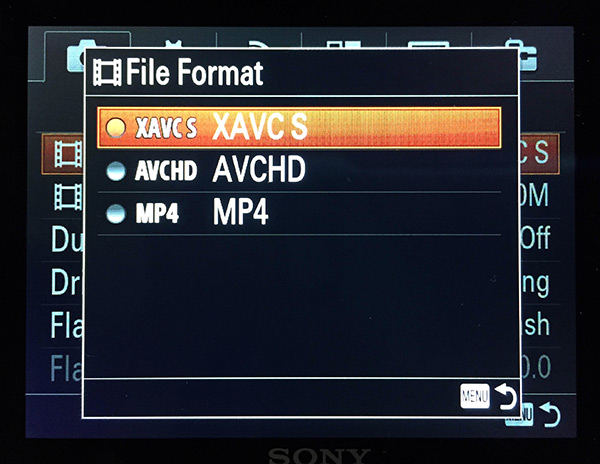
Both the Sony Alpha a7II and a7s record in three high definition formats/file types:
1) Proprietary and high quality/high bit rate Sony XAVC S.
2) Medium quality/medium bit rate standard AVCHD.
3) Low quality and low bit rate MP4 (MPEG 4).
We strongly advise students to shoot in the higher bit rate Sony XAVC S file kind to maximize quality.
You can find this setting in the File Format section of the camera menu:

Offloading Footage:
The memory card architecture on both the a7s and a7II is complex because the camera uses a different folder/package for each file kind it supports. You will want to copy to your hard drive the folder which correlates with format you shot in. Once you have inserted the SD card into the computer, you will see the folders as pictured below. The best practice is to copy the entire folder of the corresponding format you shot in:

It is also best practice to attempt to import the footage into Final Cut Pro or Premiere from your hard disk before formatting your card or returning the camera to our checkout lab. This will help ensure that you correctly copied the data to your hard drive.
Note Regarding Final Cut Pro X: To be able to import and edit Sony XAVC S footage in Final Cut Pro X on your personal computer you must install the Sony RAD Plugin. We have hosted it here for your convenience: Download
This will download as a .dmg file. Double click to open the .dmg package and then double click the file

