
Importing Sony FS7 (XAVC Media) into Adobe Premiere
Important Note #1: This camera can record in both standard high definition (1920×1080) as well as several versions of Ultra HD (4096×2160 and 3840×2160). We recommend that students record in standard high definition format (1920×1080) for ease of workflow. To learn more about the recording formats supported on the FS7 please refer to the official user manual.
Important Note #2: If you choose to record in the Ultra HD (4K) formats, we recommend the 3840×2160 option because it has a traditional 16×9 aspect ratio and will downscale correctly into 1080p exports as a result. Also, it is essential that you follow Adobe Premiere’s built in ingest proxy generation feature when importing your media. For more information on the Premiere Proxy workflow please refer to this comprehensive youtube video tutorial, or make an appointment with our IT/Post-production staff for an in-person tutorial.
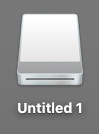
Step 1) When you insert the XQD memory card from the FS7 into the card reader and then into the computer, it should show on the desktop of the computer with this icon:
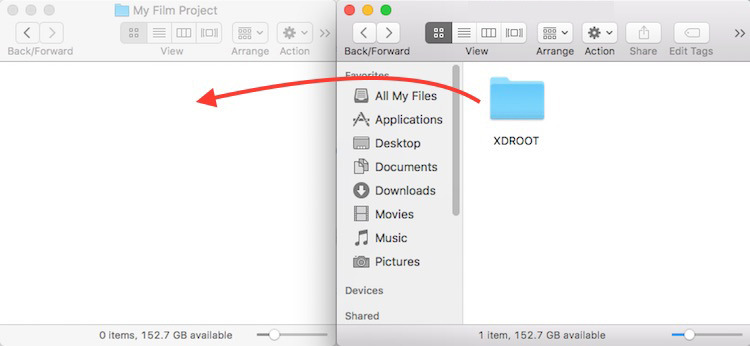
Step 2) When you open the Untitled Volume, you should see an icon which says “XDROOT”. Drag and drop this XDROOT folder onto your external hard drive from the SD card to copy the contents:
Step 3) Open your Premiere project (or create a new one if you are just starting) and navigate to File -> Import:

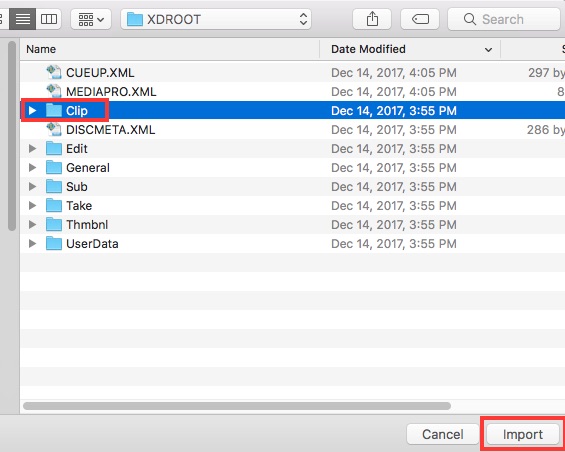
Step 4) Next browse to the XDROOT folder that you copied to your hard drive, select the Clip folder within the XD Root folder, and choose Import:
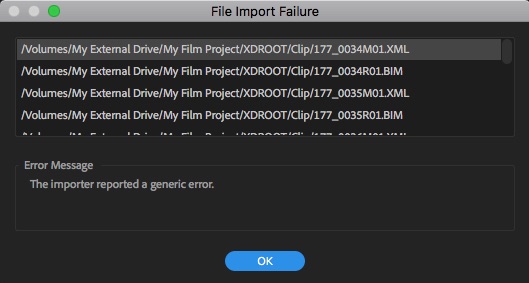
Step 5) You may receive an error message about not being able to import certain files types. This is common when importing XAVC footage (the format which our Sony FS7 captures in) because it can’t import other obscure camera-generated files. It should not concern you. Click ok:
Step 6) You will now see a folder named Clip in your project panel. It is best practice to rename this to describe the group of footage, otherwise you will have many folders named Clip on multi-shoot projects:
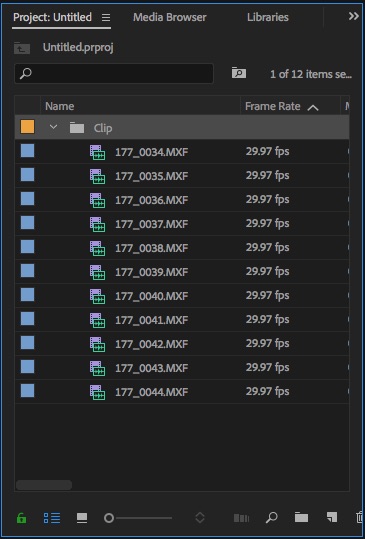
The easiest way to rename this folder is to right-click on it, and choose Rename from the menu.
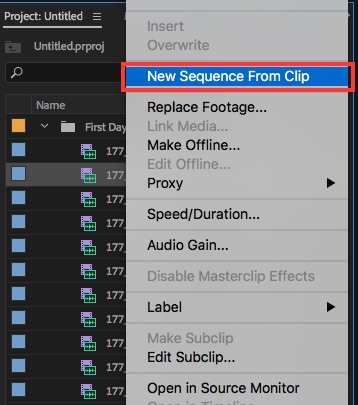
Step 7) If this is your first time using Premiere with this footage, it is always best when starting a project to make a new sequence by right-clicking on a clip in your bin, and choosing “New Sequence From Clip”. This will guarantee that your sequence matches your clip specifications:
Tip: Try downloading and using our Default Premiere Folder Structure Template when starting a new Premiere Project. This can be used to serve as a template for you to insert and organize your media on your hard drive prior to starting a new project which can greatly help.