
Nikon D750 Configuration for Stop Motion Animation
Below are the camera settings for stop motion animation using our Nikon D750 cameras:
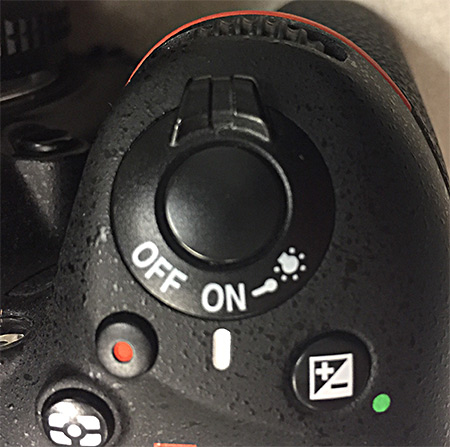
Step 1)
Confirm that the camera power is switch to on. This is located the top-right of the camera body:
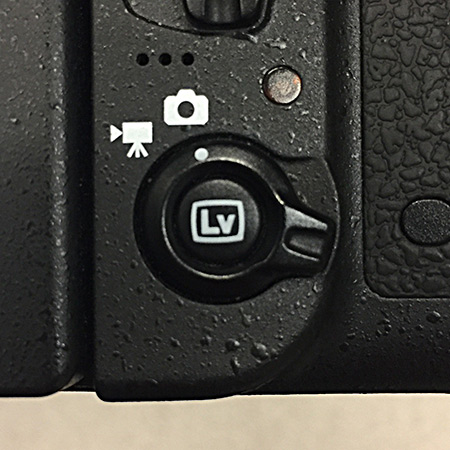
Step 3)
Confirm that the camera live view mode is set to stills rather than video as shown below:
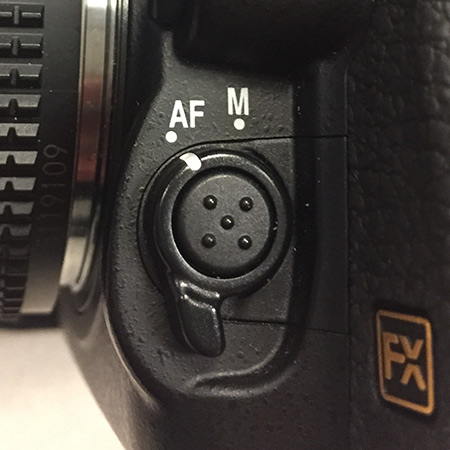
Step 3)
Confirm that the camera lens mode is set to auto focus on the front-left side of the camera body:
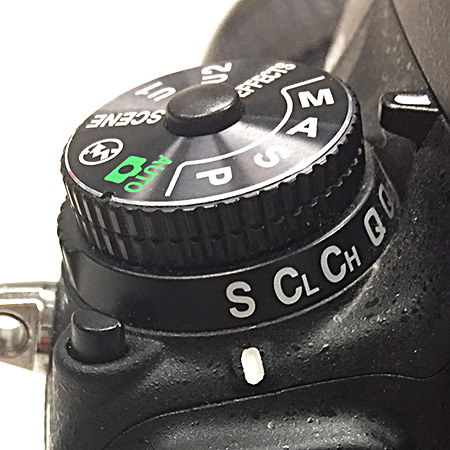
Step 4)
Confirm that the camera is set to manual (M) shooting mode on the top-left of the camera body. To adjust this, you must press the center button on this dial to rotate it:
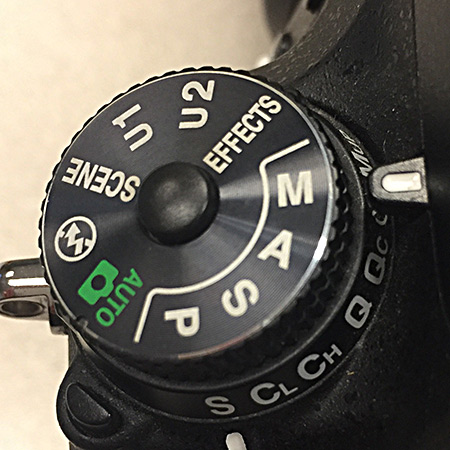
Step 5)
Confirm that the camera is set to release mode “S” on the top-left of the camera body. To adjust this you must press the button pictured to the left of the dial to rotate it:
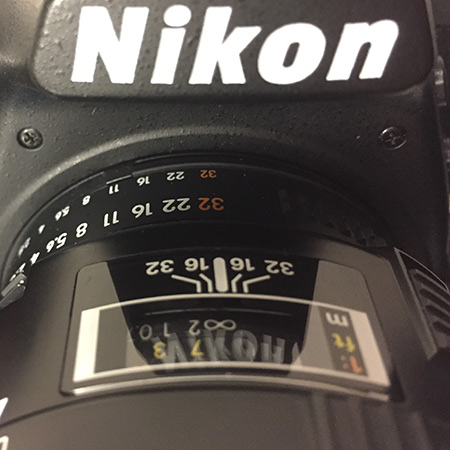
Step 6)
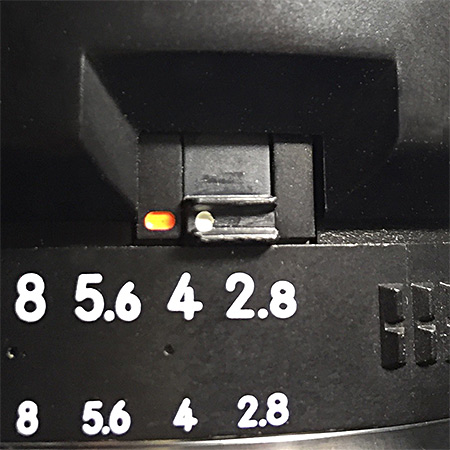
Confirm that the lens aperture dial is set to f32 and is also locked (see below). This allows auto-focus to work and also enables the electronics in the lens to correctly pass through to the camera:
Note that you will also want to “lock” the aperture at this setting using this lock toggle:
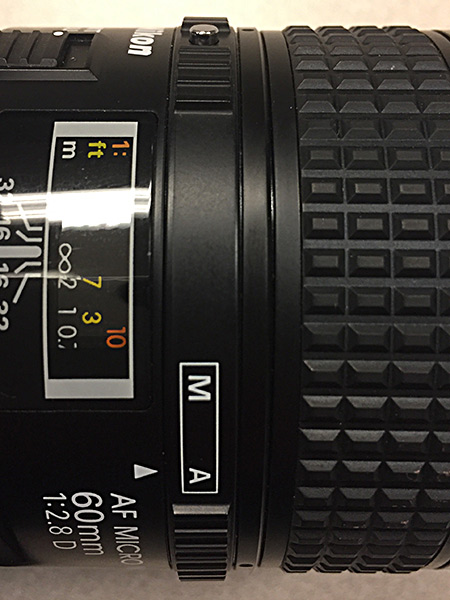
Step 7)
Confirm that the lens is set to autofocus (A) mode. Note that to adjust this you will need to press and hold the steel button shown at the top of this photo:
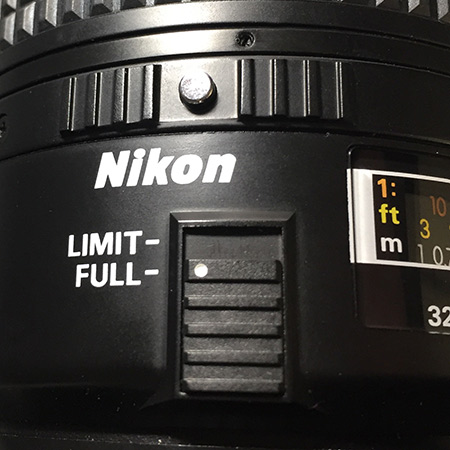
Step 8)
Confirm that the lens macro mode is set to “Full” rather than “Limit”:
Note:
The camera will disconnect after a period of idle time due the live view being automatically turned off. If this happens to you, in Dragonframe navigate to the menu Capture –> Video Assist Source –> and toggle between “No Source” and “Nikon D750” to re-engage live view mode.