
Transcode Found Footage to ProRes with Compressor 4
This workflow shows the recommended method of converting found footage/Internet sourced footage to Apple ProRes with an Audio Sample rate of 48kHz to minimize post production issues when editing with multiple formats in Adobe Premiere.
Step 1:
Open Compressor by clicking the icon in the Dock:
![]()
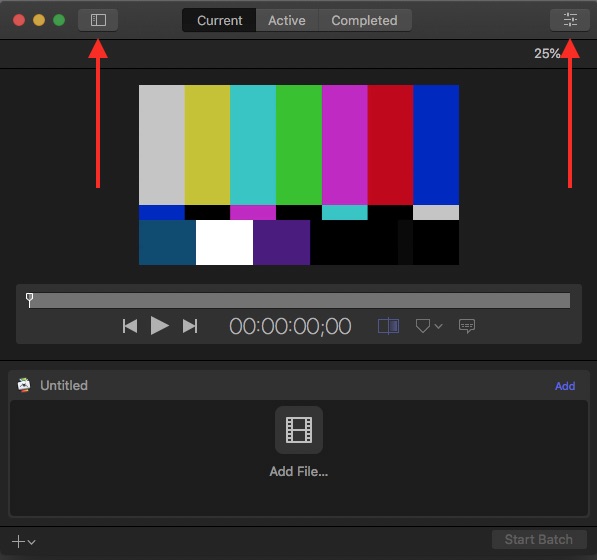
Step 2:
Press the two buttons shown here to open more options on the interface:
Step 3:
On the left-hand Settings tab, expand the ProRes section by clicking on the arrow/triangle, right-click on ProRes 422, and then select Duplicate:
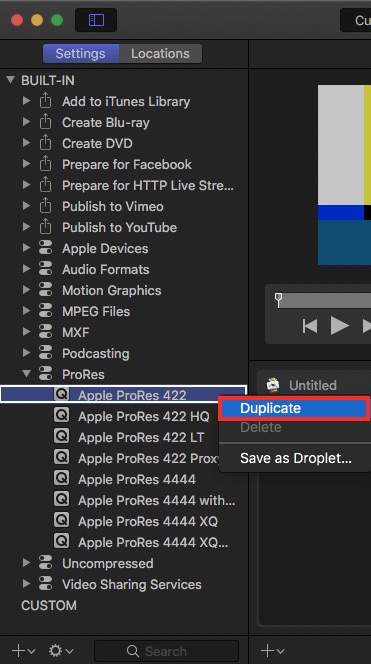
This will make a new copy of the ProRes 422 preset under the Custom section at the bottom left. Rename it to say 48 kHz at the end of the name by performing a slow double-click which will allow you to rename it:
![]()
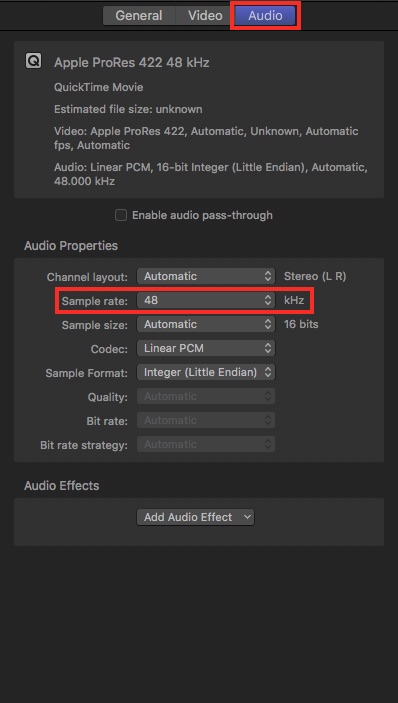
Step 4: With this custom preset still selected/highlighted on the left-hand side (Settings tab), navigate to right hand side, click the Audio tab, and change the “Sample rate” to be 48:
Step 5:
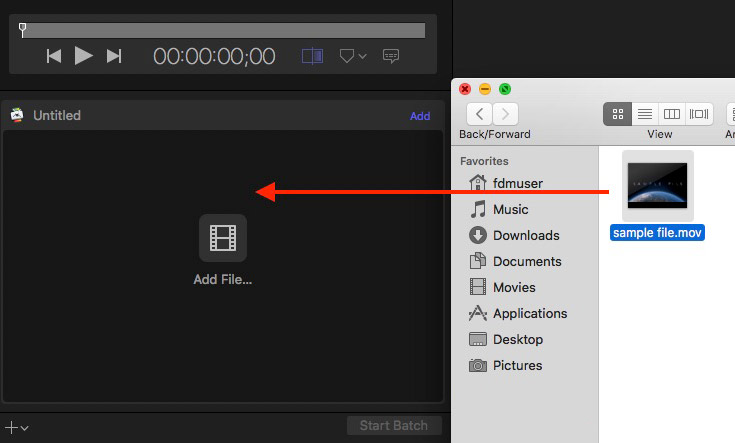
Drag and drop your movie file(s) into the Compressor interface where it says Add File.
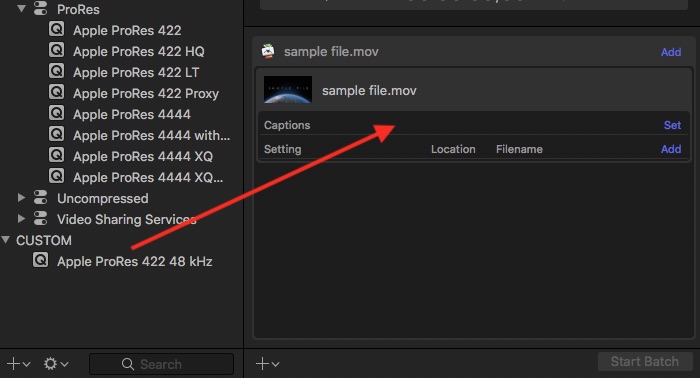
Step 6:
Drag and drop the Preset you made onto movie file(s). Hint: to do multiple clips at once, click in the main/center window of Compressor (where you dragged your clips), and press Command + A. This will select all the clips in the queue and when you drag the preset onto one clip, it will apply it to all of them:
Step 7: Click Start Batch to begin transcoding your files:

Upon clicking this, you will move to the “Active” tab and be shown a status of the conversion. It is recommended that you do not try to use Adobe Premiere or other intensive software while this video transcoding process takes place. Your new ProRes files will go to the same location they originated from with the name of the preset appended to the end of the original file name.