Exporting a High Bitrate 1080P H.264 File in Adobe Premiere
This tutorial will show you how to create a low compression 1080p H.264 export in Adobe Premiere.
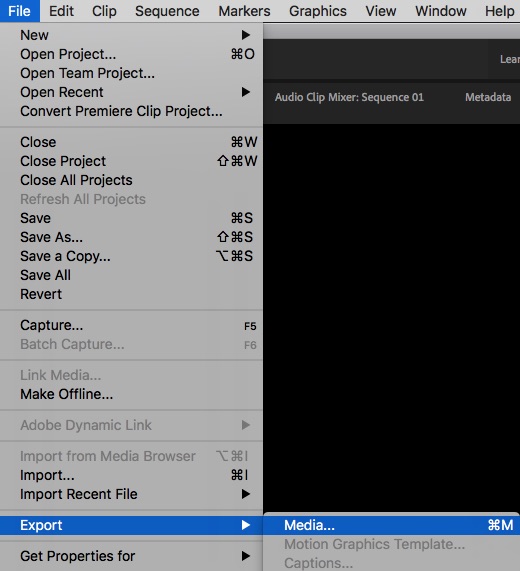
Step 1) In Premiere, with your finished project open, Navigate to File -> Export -> Media:
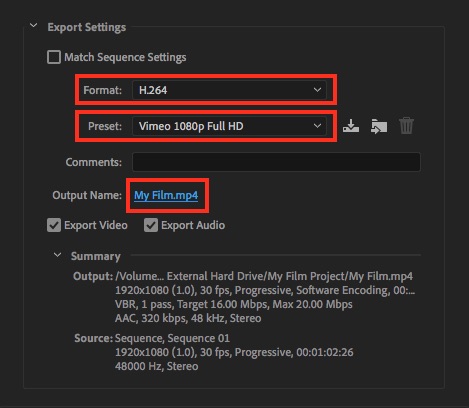
Step 2) In the window which opens do the following:
- For Format, Choose H.264.
- For Preset, choose Vimeo 1080p Full HD.
- Under Output Name, click on the file name which will prompt you to choose a file name and saving location:
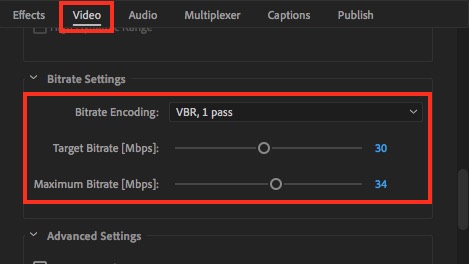
Step 3) Under the Video tab/section, scroll down to the Bitrate Settings section and confirm/change the settings to match exactly as listed below:
- Bitrate Encoding: VBR, 1 Pass
- Target Bitrate [Mbps]: 30
- Maximum Bitrate [Mbps]: 34
Important technical note: Some versions of Adobe Premiere may only show a data rate slider for Target Bitrate [Mbps] when choosing VBR, 1 Pass for the Bitrate Encoding. If this happens, please change the Bitrate Encoding to VBR, 2 Pass and use the same values for bitrates as listed above.
Also please note that after you adjust this Premiere may add “Custom” do the end the filename that you specified in step 2. If you don’t want that you can go change it in that dialog again, or simply rename the file later after it has been exported to your preferred name.
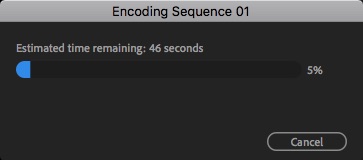
Step 4) Click the Export Button at the bottom to start the export:
![]()
You will see a progress dialog appear. When this finishes, your export will be completed: