
Initial Setup in Voiceover Room 134B
The voiceover configuration in this room consists of a Neumann microphone system and Scarlett 2i2 sound card/audio interface.
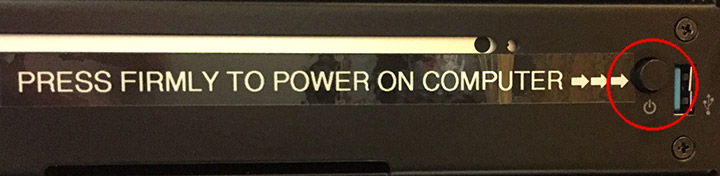
Press the power button firmly on the black media rack to turn on the computer. Note: If you find the computer already powered on, it is highly recommended that you restart the computer to ensure that all settings return to their default (and properly working) state.
Please read this graphic carefully to learn how to adjust and use the interface in this room:
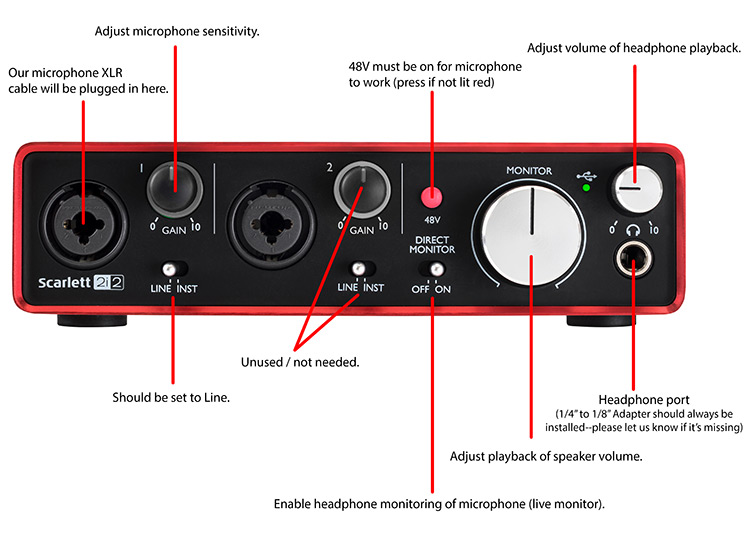
As shown above, the “Monitor” dial adjusts the speaker volume. To protect your hearing, please be cautious about not making this too loud for playback. We recommend starting with the dial in the center position.
If you are hoping for a live headphone monitoring experience for your voiceover session, use the “direct monitor” switch as pictured above on the Scarlett interface for this purpose.
To adjust microphone sensitivity, we suggest also starting with this dial in the center as a starting point, and adjusting the dial clockwise incrementally while performing test recordings until you find an acceptable recording level.
Audio will by default play back through the speakers in the room. If you would prefer to use headphones, turn the “Monitor” dial all the way left (counterclockwise) to quiet the speakers in the room, and then plug headphones into headphone port located on the front of the unit. We recommend having the dial for the headphones at 1/4 turn position (9 o’clock position as shown below) to start with since it can be a bit loud.
Please also note these important details:
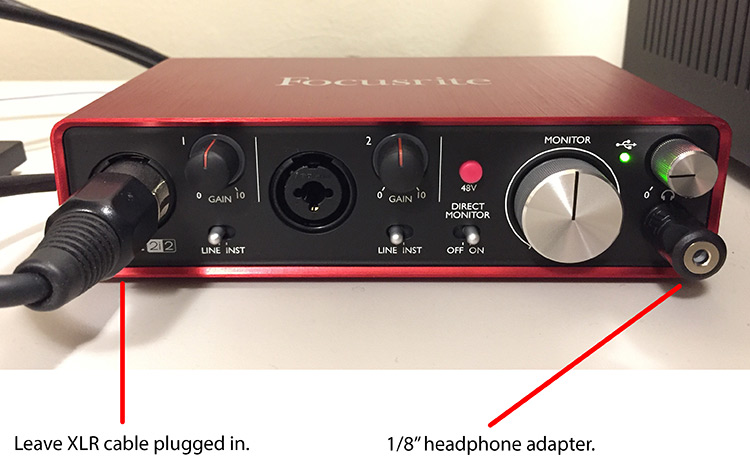
Do not unplug the XLR cable as this is the source of the microphone.
From here you can try to use Audacity to record a simple voiceover.