Exporting 1080p ProRes Media in Adobe Premiere for Screening/DVD/Blu-Ray
Important Note: If you are using a personal computer and are using Premiere 2018 or earlier, you will first need to install Adobe Media Encoder Apple ProRes codecs onto the system you are using. The Film and Digital Media department computers as well as personal computers running Adobe Premiere version 2019 or newer already have the necessary ProRes presets installed for this workflow. If you are using Premiere 2018 or earlier, please follow preset installation workflow first and then contact Film and Digital Media IT staff for further guidance:
Importing ProRes Presets into Adobe Media Encoder/Premiere
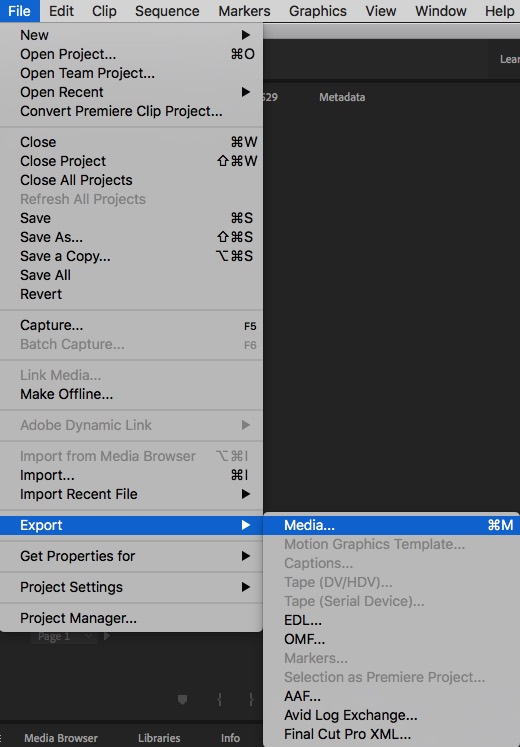
Step 1) In Premiere, with your finished project open, Navigate to File -> Export -> Media:
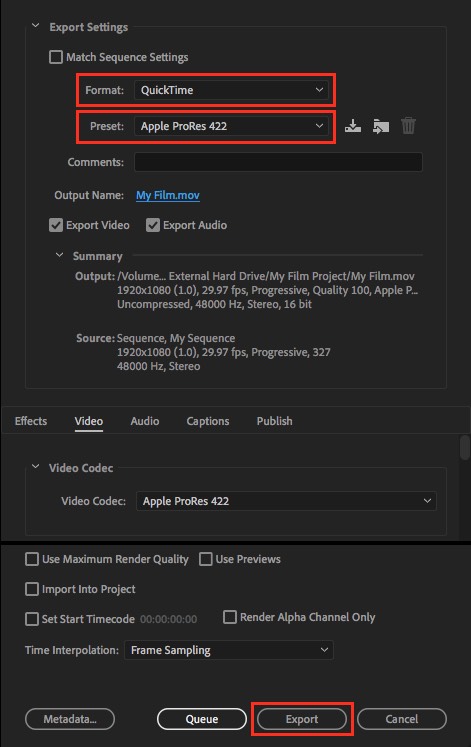
Step 2) In the window which opens choose the following:
- For Format, Choose Quicktime.
- For Preset, choose ProRes 422
- Optional but important to know: Click on the Output Name field to change the name of the output file, and where the exported file will be saved.
If you filmed in 1080p or 720p you can press export. If you filmed in 4K choose on of the two options below this screenshot. Hint: if you are not sure what resolution your film is in, it is listed below under Summary > Source:
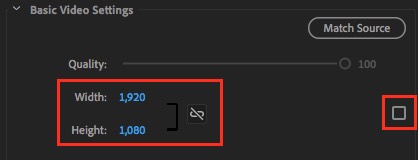
Step 2a) If you filmed in UHD 4K (3840 x 2160) to achieve a 1080p export file, select the Video tab in this same large export dialog, scroll down to “Basic Video Settings”. Uncheck the box on the far right as shown and type in 1080 into the lower field. This will adjust the other number automatically to 1920.
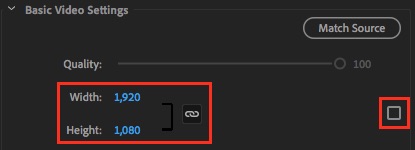
Step 2b) If you filmed in 4K Digital Cinema resolution (4096 x 2160) to achieve a 1080p export file, select the Video tab in this same large export dialog, scroll down to “Basic Video Settings”. Uncheck the box on the far right as shown below, then uncheck the chain link next to the Width and Height numbers, type in 1080 into the lower field, and 1920 into the upper field. This will create letter boxing of black on the top and bottom of your video file, but this is expected since Digital Cinema resolution has a different aspect ratio than standard HD 1080p.
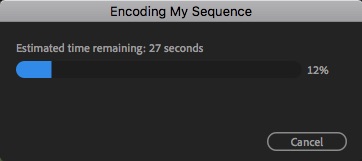
After you’ve clicked export you will see a progress dialog appear. When this finishes, your export will be completed.
